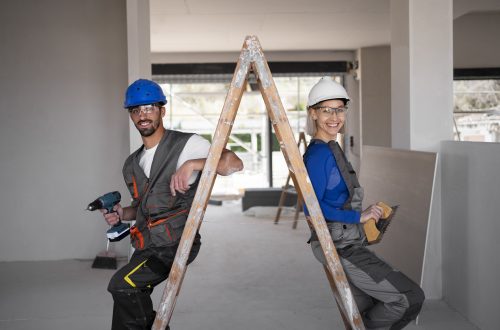

Framing a wall is one of the most important steps in any custom home remodel. It sets the foundation for your wall’s strength, alignment, and finish. Done right, it makes drywall, insulation, and trim installation much easier—and even a beginner DIYer can tackle it with careful planning.
In this guide, we’ll walk through how to frame a wall step by step, share practical DIY tips, and highlight common pitfalls to avoid.
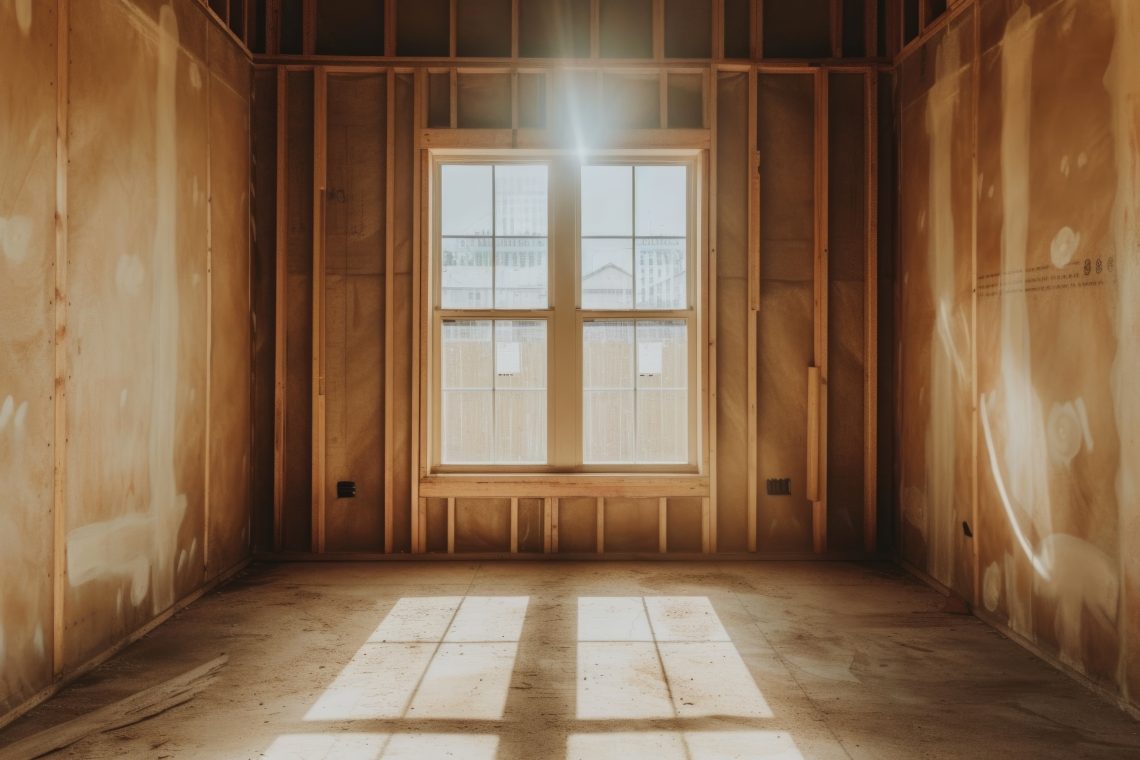
What Wall Framing Really Means
Framing is the backbone of any wall, and understanding it is essential if you want to know how to build a wall that’s strong, straight, and long-lasting. Proper framing ensures your walls not only support the structure but also define the layout, functionality, and aesthetics of your home.
- Supports structure: Load-bearing walls carry weight from floors or the roof above.
- Defines space: Even non-load-bearing walls create clean, functional room layouts.
- Prepares for finishing: Properly spaced studs make insulation, drywall, and trim installation much simpler.
Framing isn’t just nailing studs together—it’s about precision and planning for what comes next.
Essential Tools and Materials You’ll Need
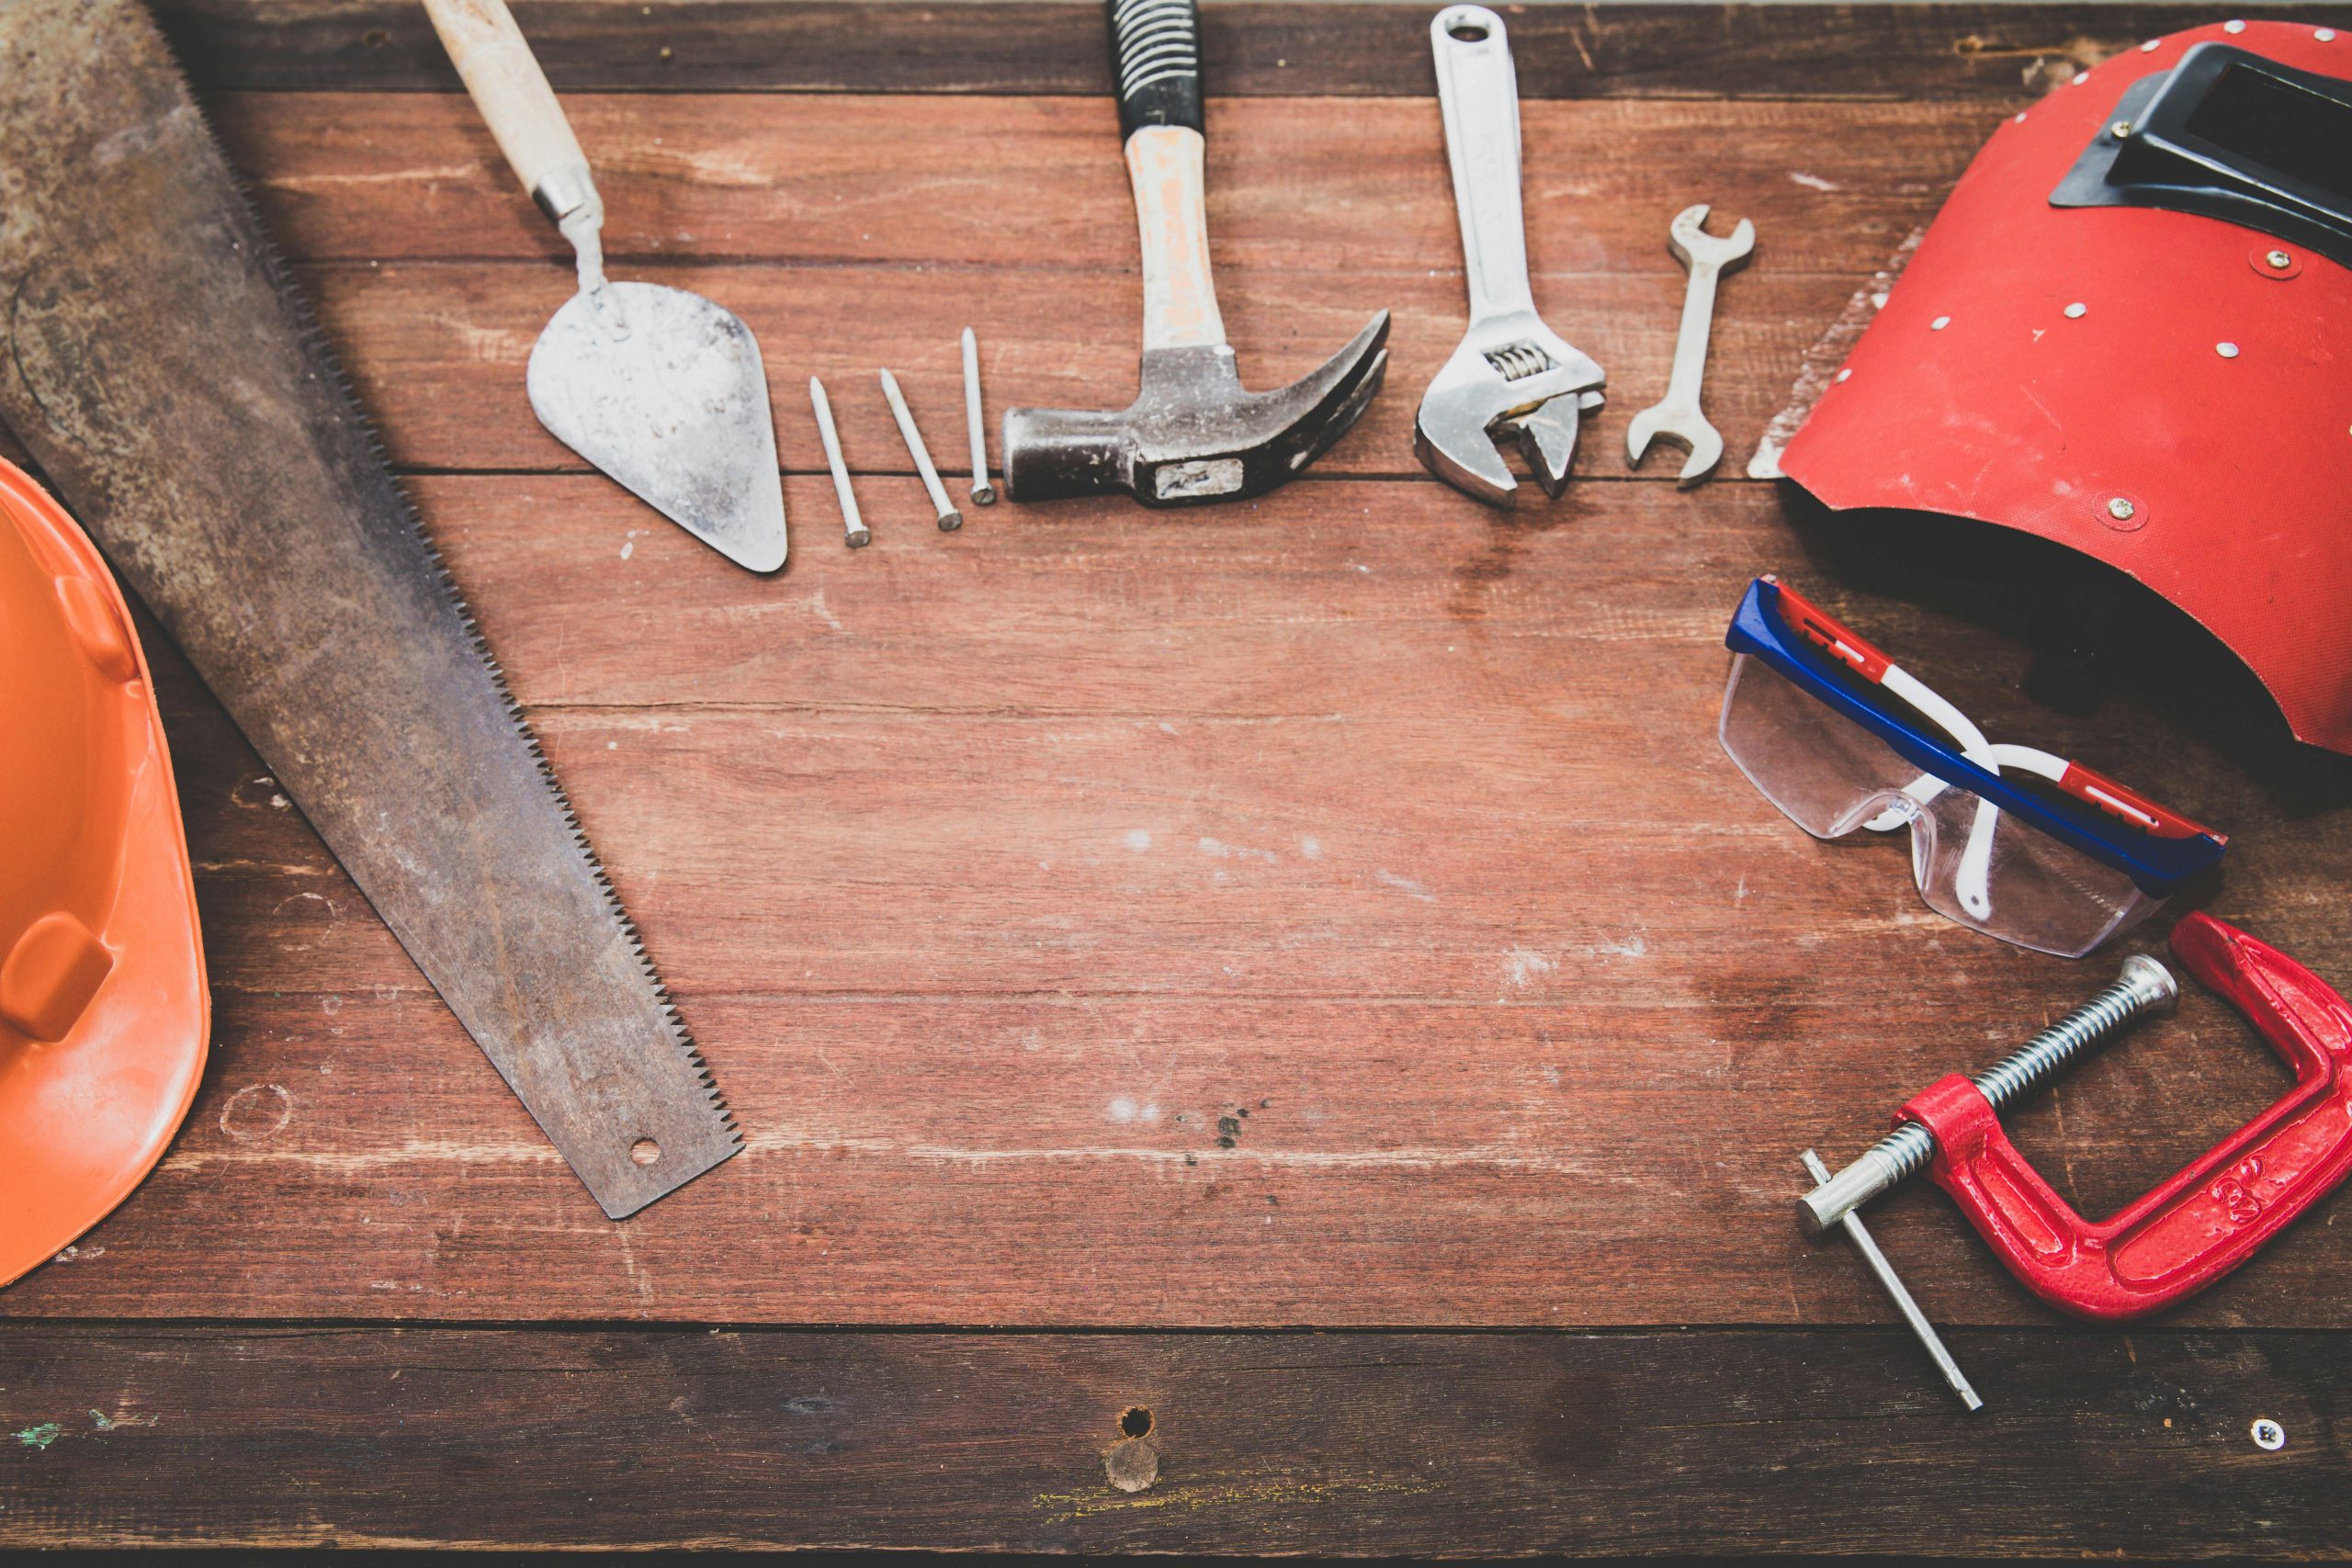
Before starting, gather everything so you don’t have to pause mid-project.
Tools
- Tape measure and pencil
- Level or laser level
- Carpenter’s square
- Hammer or nail gun
- Circular saw or handsaw
- Drill and screws
- Stud finder (if attaching to existing walls)
Materials
- Lumber (2x4s or 2x6s, depending on wall type)
- Nails or screws
- Metal brackets for reinforcement (optional)
- Safety gear: gloves, goggles, and dust mask
How to Prepare for Wall Framing
Even a simple wall needs preparation. Spend extra time here and your work will be smoother.
1. Decide on Wall Type
- Load-bearing walls: Support structural weight; require extra care or professional guidance.
- Non-load-bearing walls: Easier to build and perfect for dividing rooms or creating closets.
2. Measure and Plan Your Layout
- Snap chalk lines on floor and ceiling for the wall location.
- Double-check for obstructions like plumbing, electrical, or HVAC vents.
- Confirm wall length and height for accurate cuts.
3. Check Local Building Codes
- Permits may be required, especially for load-bearing walls or walls with utilities.
- Follow spacing requirements, header rules, and inspection guidelines.
How to Frame a Wall Step by Step
Video Source
Here’s a detailed, practical breakdown of how to frame a wall for a DIY custom home project.
1. Set Up the Top and Bottom Plates
The plates define your wall’s exact location.
- Bottom plate: Place along the chalk line on the floor and secure with nails or screws. Use a level to ensure straightness. For concrete floors, use masonry anchors.
- Top plate: Position directly above the bottom plate on the ceiling. Check alignment with a level. Temporary bracing may help keep it steady.
2. Install Vertical Studs
Vertical studs form the wall’s skeleton.
- Space studs 16 inches apart for standard walls; 24 inches may work for non-load-bearing walls.
- Ensure each stud is plumb with a level or plumb line.
- Temporarily clamp or tack the studs before securing fully.
Pro Tip: Pre-cut all studs to match your wall height. It saves time and ensures consistent alignment.
3. Frame Openings for Doors and Windows
If your wall includes openings:
- Install king studs along the edges of the openings.
- Add headers above doors or windows to support any load above.
- Measure carefully to accommodate frames, sills, and trim.
4. Secure the Frame
Once all studs are positioned:
- Nail or screw the top and bottom plates to each stud for strong connections.
- Reinforce corners or intersections with additional studs or metal brackets.
- Consider horizontal blocking between studs if you plan to hang heavy items later.
5. Optional: Electrical and Plumbing Considerations
If your wall will include outlets, switches, or pipes:
- Drill holes in studs for wiring or plumbing lines.
- Install boxes at standard heights: 12–18 inches for outlets, ~48 inches for switches.
- Secure wires or pipes according to local building codes.
6. Optional: Add Insulation
Insulation improves soundproofing and energy efficiency:
- Fit insulation snugly between studs without compressing it.
- Use fire-rated insulation for walls near kitchens, garages, or heating systems.
- Staple or friction-fit as recommended by the manufacturer.
- If using a vapor barrier, install it over insulation before drywall.
Common Mistakes to Avoid
Even experienced DIYers can make errors. Watch for:
- Ignoring level and plumb checks: Crooked walls cause misaligned doors and trim.
- Incorrect stud spacing: Leads to weak walls and cracking drywall.
- Skipping permits or codes: Can result in fines or rework.
- Overlooking electrical/plumbing paths: Can be costly to correct later.
- Rushing measurements: Measure twice, cut once.
Practical Tips for a Smoother Framing Process
- Use quality lumber: Avoid warped boards—they complicate framing and weaken your wall.
- Get a helper: Two people make lifting and securing studs safer.
- Organize tools: Prevents delays and accidents.
- Plan the workflow: Know where each stud, door, or window will go before starting.
- Take your time: Slow, accurate work beats fast, sloppy construction.
Wrapping Up
Framing a wall is a foundational skill for any custom home project. By following these steps carefully, checking your measurements, and planning for utilities, you can build strong, straight walls ready for insulation, drywall, and finishing touches.
Take your time, measure twice, and don’t hesitate to call in professional help when necessary. A well-framed wall makes the rest of your remodel easier—and more enjoyable.