
Building a wall may sound intimidating, but with a clear plan and the right tools, it’s entirely achievable—even for DIY enthusiasts. Whether you’re remodeling your custom home or adding a new room, understanding the process is essential. In this guide, we’ll break down how to build a wall for your custom home step by step, with tips, common mistakes to avoid, and advice for keeping the project smooth and safe.
Why Building a Wall Matters in a Custom Home
Walls do more than just separate spaces. In a custom home, they help define the layout, create privacy, and even contribute to structural integrity. Here’s why you should consider your wall-building project carefully:
- Space Planning: Properly built walls help maximize the functionality of rooms.
- Aesthetics: Walls can define style, especially when you incorporate design elements like accent walls or built-in features.
- Functionality: Some walls are structural, supporting your home’s weight, while others are purely decorative.
Before starting, it’s crucial to know whether the wall you’re planning is load-bearing or non-load-bearing, as this affects materials, construction, and safety.
What You’ll Need Before You Start
Preparation is key. Here’s a checklist of tools and materials to have ready:
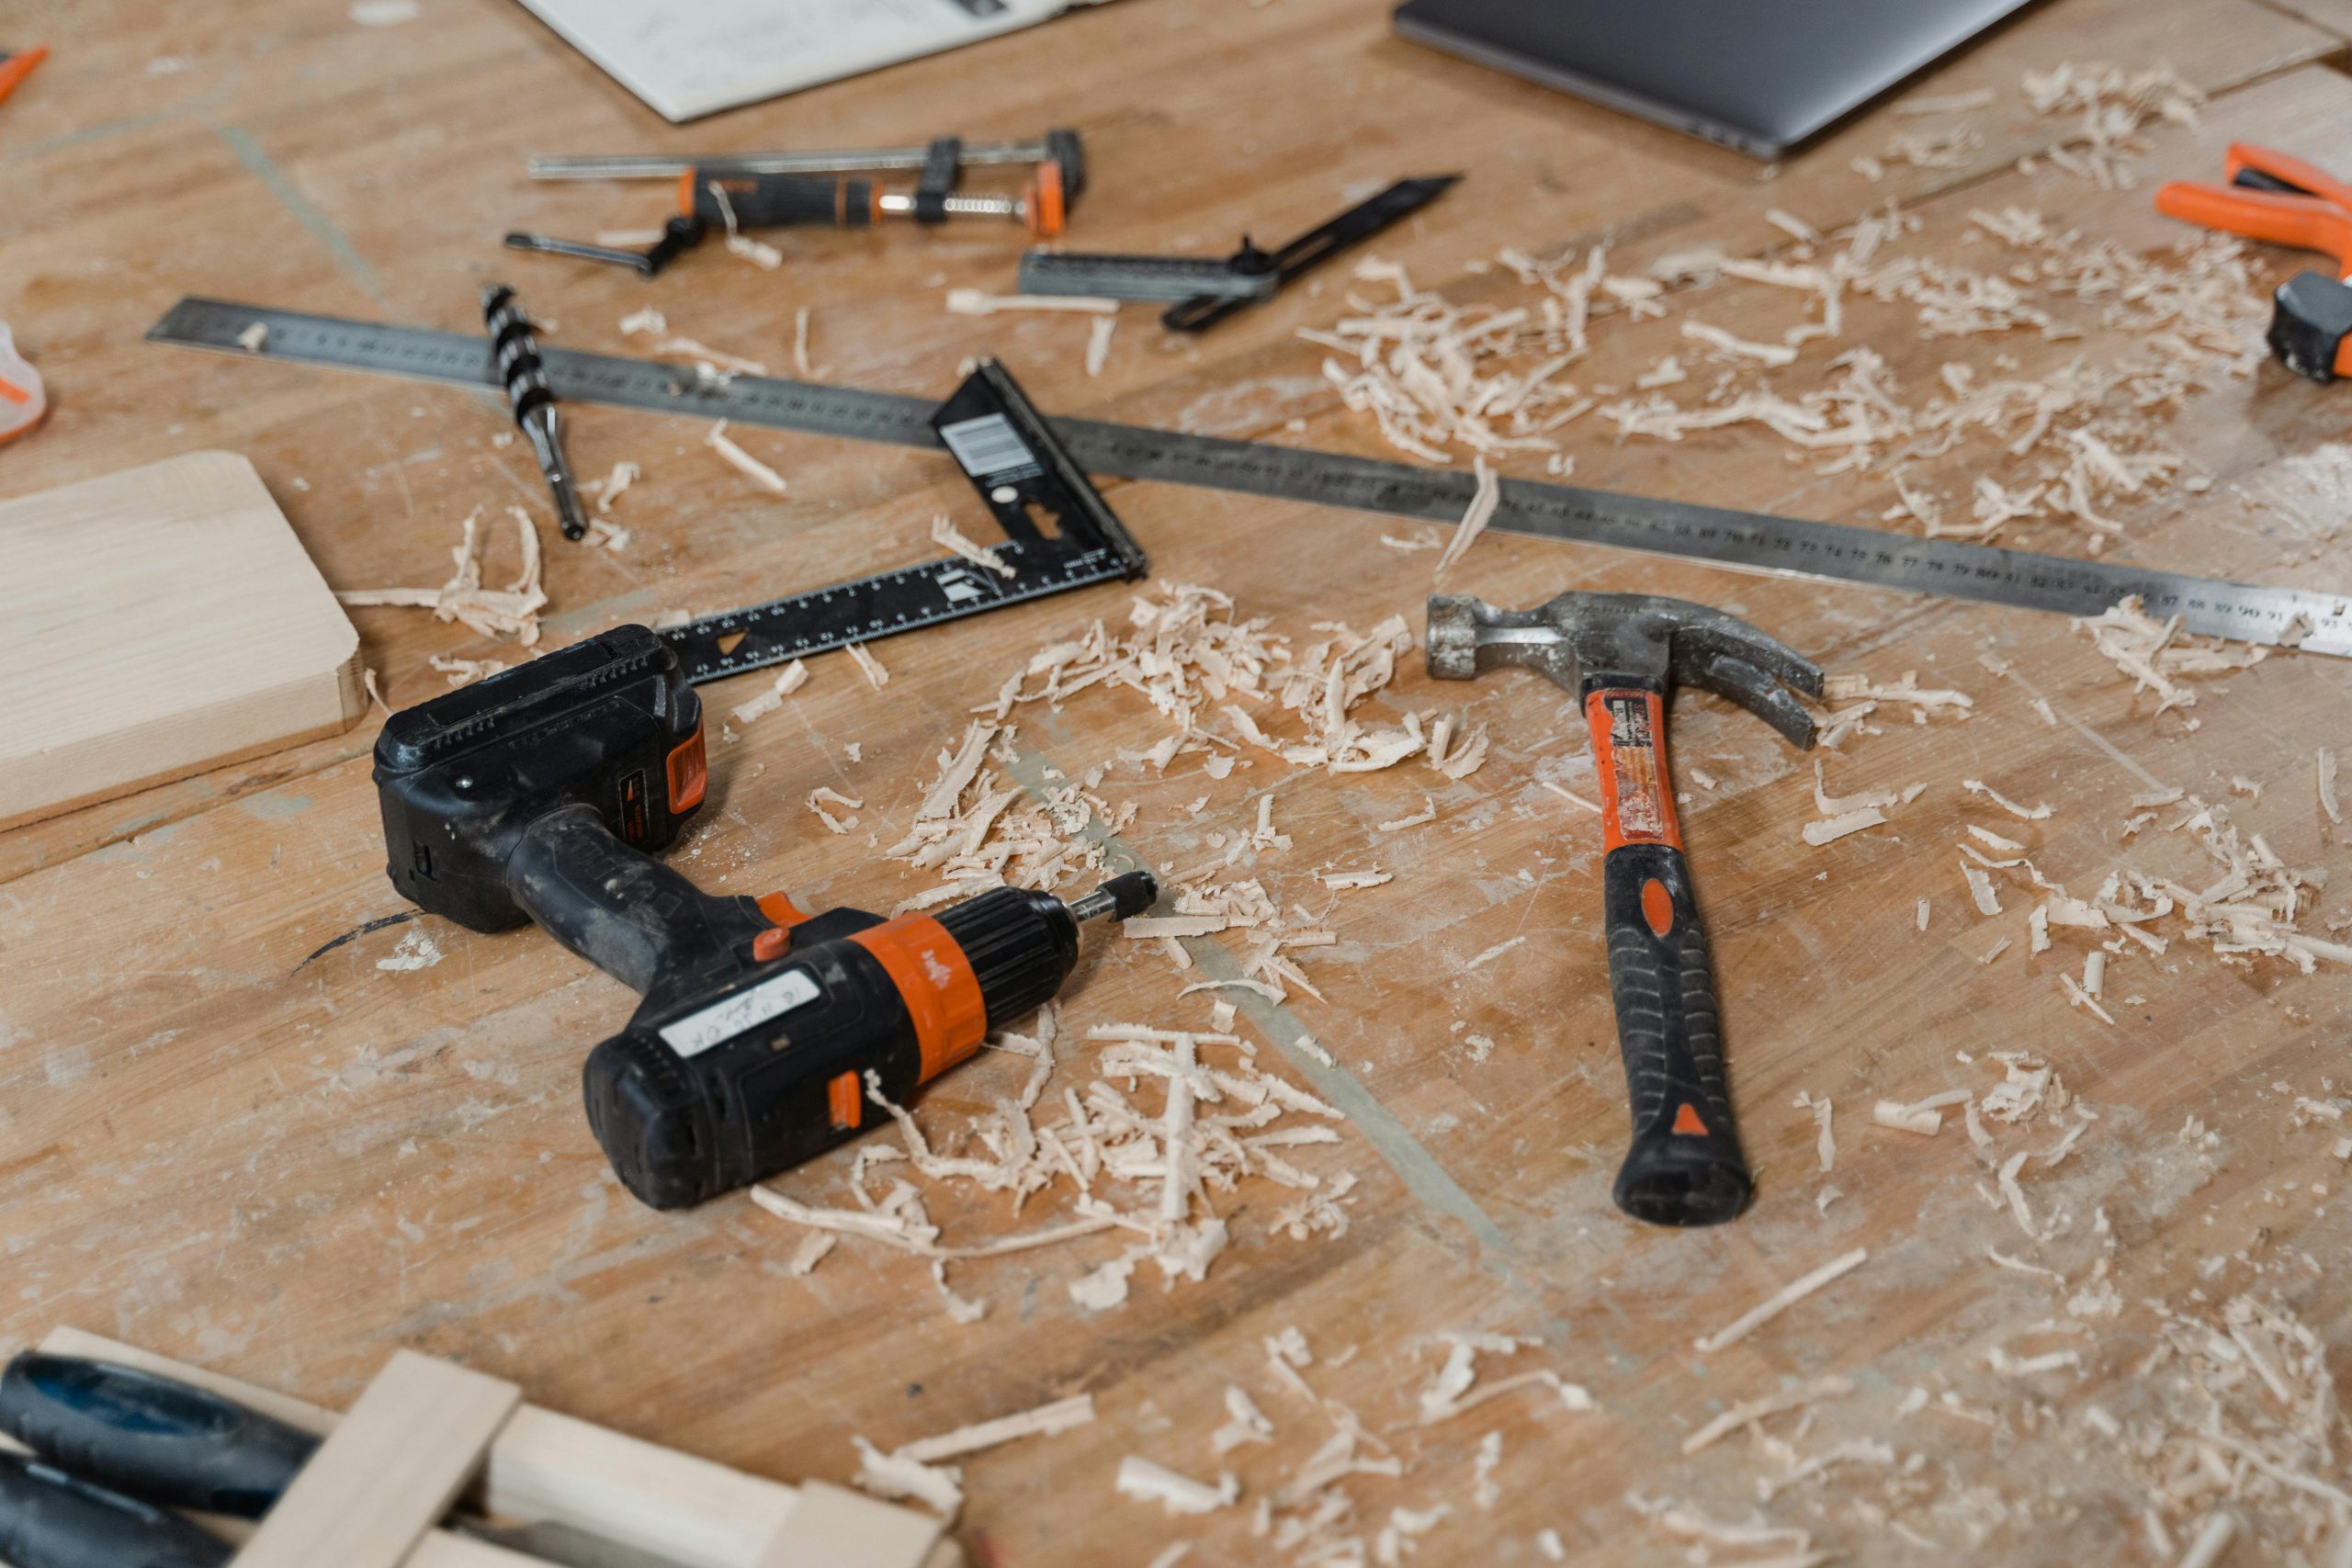
Tools:
- Tape measure and pencil
- Level and carpenter’s square
- Hammer and nails or nail gun
- Saw (hand saw or circular saw)
- Drill and screws
- Stud finder (for existing walls)
Materials:
- Lumber (2x4s or 2x6s, depending on wall type)
- Drywall sheets
- Drywall screws
- Insulation (optional, for soundproofing or thermal purposes)
- Joint compound and tape
Safety Gear:
- Safety goggles
- Work gloves
- Dust mask
How Do You Plan a Wall for a Custom Remodel?
Planning is often the most overlooked part of wall building—but it’s also the most important. Spending extra time upfront can save hours of frustration, reduce mistakes, and help your custom remodel go smoothly. A well-planned wall ensures proper spacing, alignment, and functionality. Let’s break down the planning process step by step.
Step 1: Decide the Wall Type
Before touching a hammer, you need to know what kind of wall you’re building:
- Load-bearing walls: These walls support the weight of the floors or roof above. Building a load-bearing wall incorrectly can compromise your home’s structural integrity. For these walls, it’s best to consult a structural engineer or experienced contractor. They’ll help determine placement, materials, and any necessary reinforcements.
- Non-load-bearing walls: These walls mainly divide spaces and are much easier to build or modify later. They are ideal for creating new rooms, closets, or accent walls in a custom remodel.
Understanding the type of wall you’re building will dictate framing, materials, and whether you need professional guidance.
Step 2: Measure and Mark
Accurate measurements are crucial for a straight, level wall. Mistakes at this stage can lead to crooked walls, misaligned doors, and wasted materials.
- Measure the floor and ceiling: Determine the exact length of the wall. Use a tape measure and note your measurements carefully.
- Mark the wall location: Snap a chalk line along the floor and ceiling where the wall will sit. This will serve as a visual guide during framing.
- Check for obstructions: Make sure your wall location avoids plumbing pipes, electrical wiring, or vents unless you plan to reroute them.
Pro tip: Use a laser level if you have one—it ensures your lines are perfectly straight and saves time.
Step 3: Check Codes and Permits
Even for non-load-bearing walls, many municipalities require permits for construction, electrical, or plumbing work. Failing to get proper approval can result in fines or costly retrofits.
- Consult local building codes: These codes cover wall height, framing standards, fire safety, and spacing.
- Plan for utilities: If the wall will house electrical outlets, switches, or plumbing, check code requirements for installation height, wire type, and spacing.
- Confirm inspections: Permits often require inspections at various stages, so build with the expectation that an inspector will check your work.
Planning with codes in mind saves time, money, and headaches later.
Step-by-Step: How to Build a Wall
Once planning is done, it’s time to start building. Following each step carefully ensures a sturdy, professional-looking wall for your custom home or remodel.
1. Build the Frame
Video Source
The frame acts as the skeleton of your wall and determines both its strength and durability. A well-built frame sets the stage for smooth drywall installation and long-lasting stability.
Lay Out the Bottom Plate:
- Place a 2×4 board along the chalk line you snapped on the floor. The bottom plate marks the exact location of your wall.
- Use a level to double-check that it’s perfectly straight. A crooked bottom plate can make the entire wall misaligned.
- Secure the plate to the floor using nails or screws, depending on the flooring type. Concrete floors may require masonry screws or anchors.
Install the Top Plate:
- Position a matching 2×4 on the ceiling, directly above the bottom plate.
- Check that the top plate is level using a laser or bubble level.
- Temporarily brace the top plate if necessary to prevent shifting while adding studs.
Add Vertical Studs:
- Place vertical studs between the top and bottom plates. Standard spacing is 16 inches on center for load-bearing walls; 24 inches may work for non-load-bearing walls.
- Ensure each stud is plumb (perfectly vertical) using a level or plumb line. This prevents walls from leaning and doors from sticking.
- Temporarily nail or clamp studs in place before fully fastening.
Check for Openings (Doors and Windows):
- Determine where doors or windows will go. Install king studs along the edges and headers above openings to support any load from above.
- Make sure to leave enough space for door frames, window sills, and trim.
2. Secure the Frame
Once all studs are in place, it’s time to lock the frame together:
- Nail or screw the top and bottom plates to each stud to create a strong connection.
- Reinforce corners and intersections with additional studs, blocking, or metal brackets to improve stability.
- Re-check alignment with a level and make small adjustments before proceeding. Even slight deviations can affect drywall installation and overall appearance.
- Consider adding horizontal blocking between studs if you plan to hang heavy items like cabinets or wall-mounted TVs later.
3. Add Electrical or Plumbing (If Needed)
If your wall will house outlets, switches, or plumbing, this step comes before drywall:
- Cut Openings in Studs: Use a drill or hole saw to create space for pipes or wires.
- Install Boxes: Place electrical boxes at standard heights—12–18 inches for outlets, around 48 inches for light switches.
- Run Wires or Pipes: Secure wiring and plumbing to studs following local building codes. Make sure cables aren’t pinched or too close to screws.
- Double-Check: Ensure nothing will interfere with insulation or drywall. Mark locations clearly so that drywall installers know where to cut for outlets and fixtures.
4. Install Insulation (Optional)
Insulation is optional but recommended for soundproofing, energy efficiency, or temperature control.
- Choose insulation that fits snugly between the studs. Avoid compressing it, as compressed insulation loses effectiveness.
- Consider fire-rated insulation in kitchens, garages, or walls near heating systems for added safety.
- Secure insulation with staples or friction fit, following manufacturer instructions.
- If using vapor barriers, install them over insulation before adding drywall to prevent moisture buildup.
5. Hang Drywall
Drywall turns the frame into a smooth, finished wall.
- Measure and Cut: Cut drywall sheets to fit the height of the wall using a utility knife or drywall saw. Score, snap, and trim carefully.
- Attach Drywall to Studs: Use drywall screws every 12–16 inches. Make sure screw heads are slightly recessed but do not break the paper surface.
- Handle Large Sheets Carefully: For large walls, enlist a helper or use a drywall lift. Handling sheets alone increases the risk of damage or injury.
- Check for Fit: Ensure the drywall edges line up with studs and corners for seamless seams.
6. Tape, Mud, and Sand
Finishing drywall makes your wall look professional and seamless:
- Apply Tape: Cover all seams with drywall tape. Paper tape works well for straight seams; mesh tape is better for repairs or curved areas.
- Apply Joint Compound (Mud): Spread thin layers over seams and screw holes using a drywall knife. Let each layer dry completely before adding the next. Multiple layers may be required for a smooth finish.
- Sand the Surface: Use fine-grit sandpaper to smooth out dried compound. Wear a mask to avoid inhaling dust.
- Check for Imperfections: Run your hand over seams and corners to ensure there are no bumps or gaps. Reapply mud as necessary and sand again for a flawless finish.
7. Prime and Paint
The final step brings your wall to life and protects the drywall:
- Prime First: Apply a primer to seal the surface, prevent uneven absorption, and improve paint adhesion.
- Select Paint: Choose a color that complements the rest of your home. Consider finish—matte hides imperfections, satin or semi-gloss is easier to clean.
- Apply Multiple Coats: At least two coats of paint are recommended for full coverage. Allow sufficient drying time between coats for a polished, professional look.
- Final Touches: Add trim, baseboards, and caulk seams for a clean, finished appearance.
Common Mistakes When Building a Wall
Even simple walls can go wrong if you’re not careful. Watch out for these pitfalls:
- Skipping the level check: Even a slight tilt can affect doors, flooring, and wall finishes.
- Incorrect stud spacing: Weak walls or drywall that cracks easily.
- Neglecting permits: Could lead to fines or forced rework.
- Overlooking electrical/plumbing: May require expensive adjustments later.
- Rushing measurements: A few misaligned inches can throw off the whole wall.
Tips for a Smooth Wall-Building Process
- Take Your Time Measuring: Double-check every measurement before cutting lumber. Measure twice, cut once.
- Use Quality Materials: Warped or low-quality lumber makes framing difficult and can lead to weak walls.
- Get a Helper: Two sets of hands make lifting and securing walls safer and easier.
- Plan Ahead: Determine where doors, windows, and utilities will go before framing.
- Keep Your Workspace Clean: Clear debris prevents trips, accidents, and mistakes.
When to Hire a Professional
Some aspects of wall building require experience:
- Load-bearing walls
- Complex layouts or high ceilings
- Electrical, plumbing, or HVAC integration
Hiring a professional ensures your wall is structurally sound, meets codes, and avoids costly mistakes.
Frequently Asked Questions
Q: Can I build a wall on my own in a custom remodel?
A: Yes, for non-load-bearing walls, DIY is very possible with the right tools, planning, and safety measures.
Q: How long does it take to build a wall?
A: A simple non-load-bearing wall can take a weekend, while more complex walls with insulation, electrical, or plumbing may take longer.
Q: Do I need permits for a new wall?
A: Most municipalities require permits, especially for structural walls or any wall containing electrical or plumbing work.
Q: Can walls be moved later?
A: Non-load-bearing walls can sometimes be removed or repositioned, but load-bearing walls require structural adjustments.
Closing Thoughts
Building a wall for your custom home doesn’t have to be overwhelming. By planning carefully, using the right materials, and following a clear step-by-step process, you can achieve professional-looking results. Whether you’re dividing a room, adding a new space, or finishing a custom remodel, understanding the process helps you save time, money, and stress.
Remember: measure twice, build safely, and don’t hesitate to get professional help when needed. Your custom home deserves walls that are both functional and stylish.